Photo: Pexels
Matching Drywall Texture After a Repair in Temple, TX
Most Temple homes built in the last 20 years have orange peel or knockdown texture, both of which can be matched with spray cans and a knockdown knife if you take your time.
Quick Answer
Temple subdivision textures (orange peel and knockdown) can be matched with spray-can texture and patience.
Tools needed
Spray-can texture (orange peel or knockdown), Knockdown knife (for knockdown texture), Joint compound for skim coating, Practice board, Primer and matching paint, 120-grit sandpaper
Identify Your Existing Texture
Before you open any cans or mix any compound, take a close look at the wall around your repair. The texture on your wall determines which tools you need and which technique to use.
Orange peel is a uniform pattern of small bumps, like the skin of an orange. This is the most common texture in Temple homes, especially in subdivisions built during the 2000s and 2010s building boom.
Knockdown starts as a splatter pattern that gets flattened with a wide knife, leaving irregular flat islands with valleys between them. Common in Temple homes built in the late 1990s through mid-2000s.
Skip trowel is a hand-applied texture with overlapping curved ridges. Less common in Temple but found in some custom homes and remodels.
Smooth walls have no texture at all. Newer Temple construction increasingly uses smooth finishes, and some renovated older homes have had their texture removed.
Most Temple subdivision homes built from the mid-2000s onward use orange peel or light knockdown, both applied by machine during construction. These are the most straightforward textures to match because they follow predictable patterns.
Step-by-Step: Matching Orange Peel Texture
Orange peel is the texture you are most likely dealing with in a Temple subdivision home. Spray-can texture products are made for exactly this job.
Step 1: Prepare the surface
Your patch should already be smooth, sanded with 120-grit, and wiped clean of dust. Run your hand over it, if you feel any ridge at the transition between patch and wall, sand it flatter. Texture will not hide a bad patch; it will highlight it.
Step 2: Practice on scrap
Get a piece of cardboard or scrap drywall and practice your spray pattern. This is the step that separates a good texture match from an obvious one. Hold the can about 18 to 24 inches from the surface and use short bursts. Adjust the nozzle to match the bump size on your existing wall.
Spray at least three or four test areas at different settings. Let them dry, the texture shrinks slightly as it cures, so judge the match after drying, not while wet.
Step 3: Mask and spray
Tape off the area around your repair with painter's tape and plastic sheeting. Leave a few inches of existing texture exposed at the edges so you can blend into it. Spray in light, even passes. Two thin coats produce a better match than one heavy coat.
Step 4: Feather into the existing texture
As you move toward the edges of your repair, increase your spray distance and reduce the amount of texture you are applying. The transition between new and old texture should be gradual, not a sharp line. This feathering step is where most DIY attempts go wrong, rushing the edges leaves a visible boundary.
Step 5: Dry before priming
Let the texture dry for at least 2 hours. Spray-can texture dries relatively quickly, but it needs to be fully cured before you put primer on it.
Step-by-Step: Matching Knockdown Texture
Knockdown requires two operations: applying a splatter coat, then flattening it with a knockdown knife. The timing between these two steps is the tricky part.
Step 1: Prep and practice
Same surface prep as orange peel. For practice, set up a large piece of cardboard and go through the full process, splatter, wait, knock down. Do this at least twice before touching the wall. Pay attention to how long you wait before knocking down, because that timing makes a big difference.
Step 2: Apply the splatter
Use a spray can set to a large droplet pattern, or a hopper gun with thinned joint compound for bigger areas. Cover the repair and extend the splatter a few inches into the surrounding texture.
Step 3: Wait and then knock down
Let the splatter set up for 10 to 15 minutes. You want it firm enough that a knife does not smear it, but soft enough that it flattens. Test the edge of your practice piece if you are not sure.
Drag a clean knockdown knife lightly across the surface in one direction. Do not press hard, you are skimming the peaks, not pushing compound around. Clean the knife between passes with a damp rag.
Step 4: Blend the edges
Where your new texture meets the existing wall, use a light touch with the knockdown knife or a damp sponge to soften the boundary. The goal is a seamless transition where old and new overlap slightly.
Temple Builder-Grade Textures
Temple's growth from the mid-2000s through the 2020s produced a lot of subdivision housing with consistent, machine-applied textures. This is actually good news for texture matching because these textures are uniform and reproducible.
Most builders in Temple used one of two textures:
Light orange peel is the standard in homes built after about 2008. Applied with commercial spray rigs, it produces a consistent, fine-bumped surface. Off-the-shelf spray-can texture in "orange peel" setting matches this well.
Medium knockdown was more common in the late 1990s to mid-2000s Temple builds. The splatter was medium-weight and knocked down to create moderate-sized flat areas. Matching this with spray cans works, though you may need to experiment with the knockdown timing.
If your home was built by one of the larger Temple-area builders, the texture was almost certainly applied by a subcontractor using the same equipment and technique across the entire development. That consistency works in your favor when matching.
Skip Trowel and Smooth Walls
Skip trowel is a hand technique, and every pass of the trowel creates a unique pattern. To match it, load a curved trowel or large putty knife with a thin layer of compound and drag it across the surface at a low angle, letting it skip. The overlap and pressure create the characteristic arced ridges. This takes practice, a lot of practice. If your walls have skip trowel, seriously consider whether this is a job you want to take on yourself.
Smooth walls need no texture, but they demand a flawless patch surface. Every tiny ridge, bubble, or sanding scratch shows through paint on a smooth wall. Skim coat the patched area, sand to 150-grit, and inspect under a light held at a raking angle to catch imperfections.
Prime Before Painting
New texture absorbs paint at a different rate than the cured, painted wall around it. If you skip primer, the patch will look different even if the texture is a perfect match, usually duller or flatter than the surrounding wall.
One coat of PVA primer over the new texture, let it dry, then two coats of your matching paint. If you need to match paint and do not have the original color, pull a small chip from behind an outlet cover and take it to the hardware store for a color match.
Know When to Call a Professional
Small wall patches with orange peel or light knockdown are reasonable DIY projects if you are willing to practice and take your time. But some situations are better left to a pro:
- Ceiling texture. Working overhead is awkward, and texture compound drips. Getting a good match on a ceiling is significantly harder than on a wall.
- Large repair areas. The bigger the patch, the harder it is to feather the edges and create an invisible transition. Anything larger than a couple of square feet gets challenging.
- Skip trowel or custom textures. Hand-applied textures require skill and experience to replicate convincingly.
- Whole-room retexture. If you have multiple patches in one room, it may be more efficient to retexture the entire room for a uniform look.
PatchMaster handles drywall texture work across the Waco-Temple-Killeen area for jobs beyond a basic wall patch. Their profile and coverage details are at PatchMaster Waco-Temple.
Related Guides
- How Much Does Drywall Repair Cost in Temple?, pricing for professional texture work
- How to Patch Small Drywall Holes in Temple, get the patch right before matching texture
- Signs Your Drywall Needs Repair in Temple, spot problems early
- Drywall Texture Matching in Waco and Killeen, same techniques, different local details
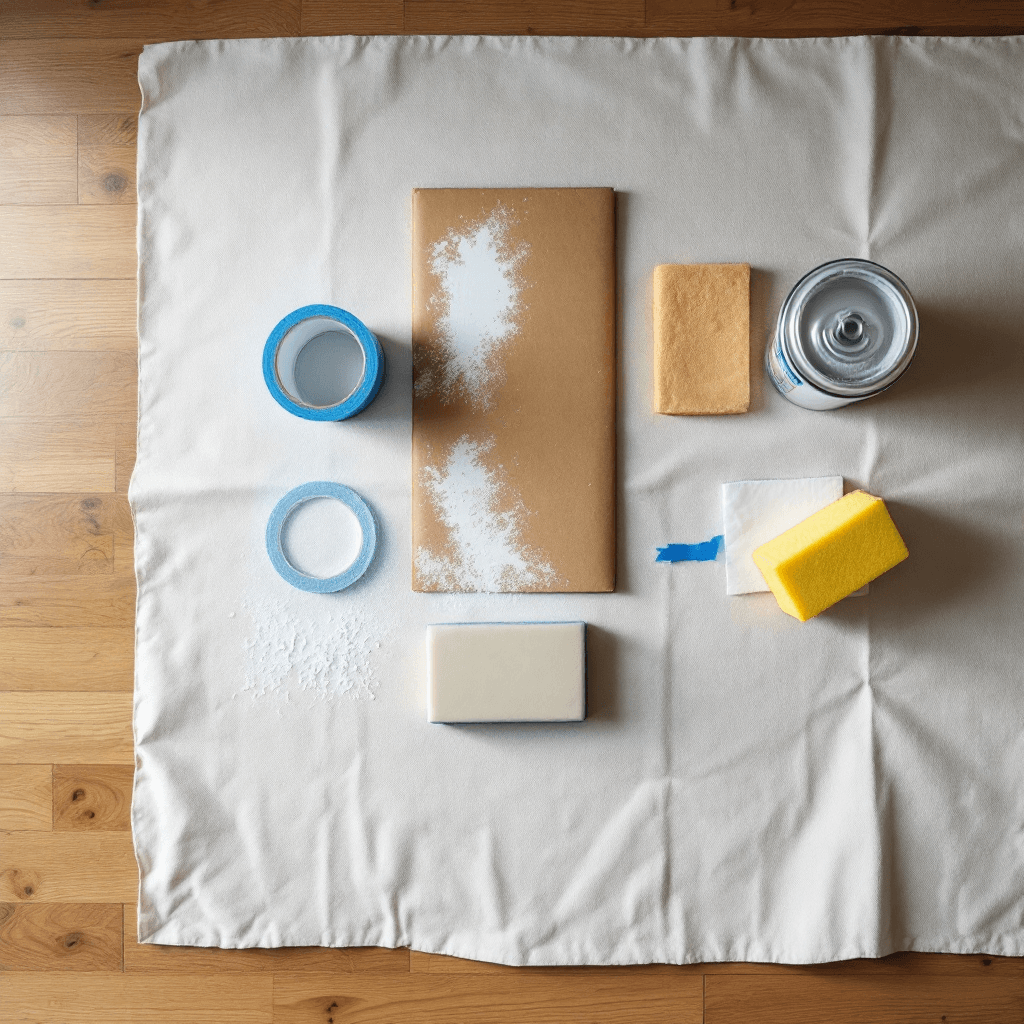
Photo: Pexels
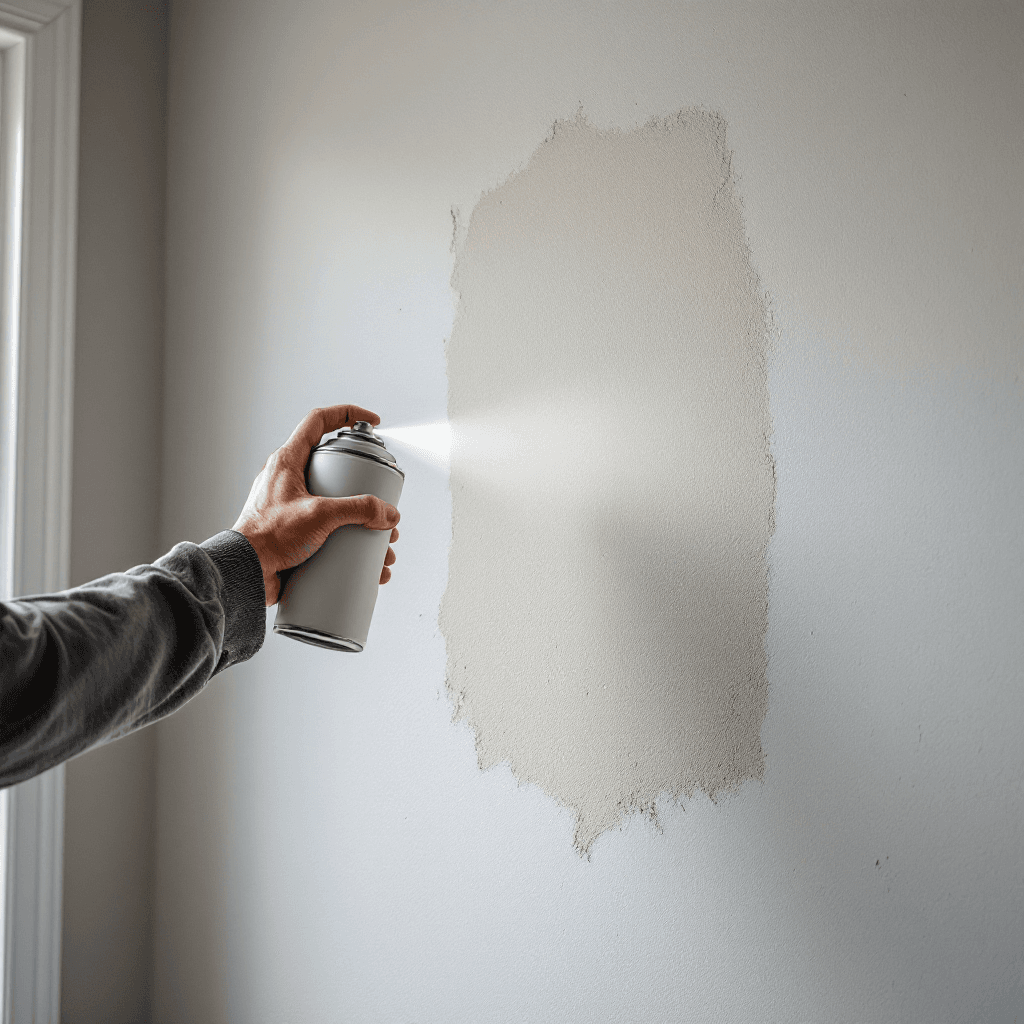
Photo: Pexels
Frequently Asked Questions
How do I match orange peel texture on drywall?▾
Can I use spray texture to match knockdown?▾
Why does my drywall patch look different after painting?▾
What texture do most Temple homes have?▾
How long should texture dry before painting?▾
Is it worth retexturing a whole wall instead of just the patch?▾
Related Guides
Water-Damaged Drywall in Waco: Repair or Replace?
Water-damaged drywall in Waco often needs professional assessment due to mold risk from Brazos River humidity and aging plumbing in older homes.
Water-Damaged Drywall in Killeen: Repair or Replace?
Most water-damaged drywall in Killeen homes needs professional assessment because mold risk is high, especially in homes that were vacant during deployments.
Matching Drywall Texture After a Repair in Killeen, TX
Getting drywall texture right after a repair makes the difference between a patch that disappears and one that catches the eye at every inspection. Here is how to match common Killeen textures.